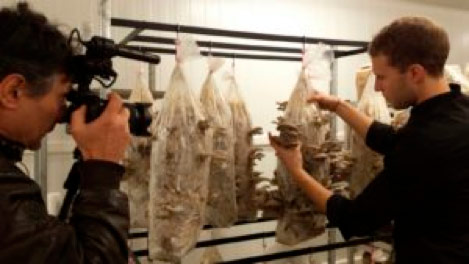
The DIY Mushroom Box!

The "Boîte à Champignons" is the original initiative of two friends who are fans of urban agriculture and upcycling. What's upcycling? Remember, we already told you about it in our article on Taloma, the woven basket (https://verslaterre.com/blog/2017/08/04/corbeille-ecolo-chic-upcyclee/).

In 2014, Arnaud Ulrich and Grégoire Bleu came up with the crazy idea of collecting coffee grounds from homes and growing mushrooms on them! And not just any mushrooms: oyster mushrooms. And it works!

Parisian Michelin-starred chefs love them, and so do we. Not only because they're delicious, but above all because La Boîte à Champignons transforms a locally available waste product (coffee grounds) into a food resource (mushrooms!).

A natural and responsible chain in which everyone can take part! And that's got to sound familiar...don't you think? Worm composting, of course!

It's in this fraternal spirit of waste reclamation that Vers La Terre wanted to help you discover how to grow mushrooms right in your own home in the blink of an eye!

Arnaud and Grégoire's oyster mushrooms grow in cellars in the center of Paris, but also at home, thanks to the famous "Boîte à Champignons"!

How does it work?

Like your vermicomposter, your Mushroom Box needs a comfortable, humid atmosphere. To achieve this, simply recreate the conditions of an autumn undergrowth, with water and plenty of fresh air. This is called "stressing" the mushrooms.

After spending a night in the fridge, the substrate loaf is placed back inside its cardboard box, taking care to remove the small cardboard circle from one side to reveal the loaf. The final step is to make a small cross in the plastic with a cutter. This small notch will allow the oyster mushroom cluster to emerge.

A place that's neither too hot nor too bright

Like our little friends the worms, mushrooms don't like direct sunlight or excessive heat. So we prefer a cool room, not too bright. And as for the balance of our City Worms, we make sure that our Mushroom Box is always moist! Let's not forget: to see your first oyster mushrooms emerge, we need to reproduce the climatic environment of an autumn undergrowth.

For daily maintenance of the Mushroom Box, simply spray your substrate loaf twice a day with a spray bottle. What needs to be sprayed is the visible part of your loaf. Don't take it out of the cardboard box until the mushrooms have appeared!

Harvesting time

After just 10 days, you'll be delighted to see tiny mushrooms appear on the top of the substrate loaf. But it's only after a further 5 days that beautiful, plump oyster mushrooms will emerge. At this point, you'll need to harvest the cluster by gently peeling it from its base.

Now it's time to cook your oyster mushrooms. Creamed, pan-fried or served with meat, you'll be spoilt for choice!

The end of the story

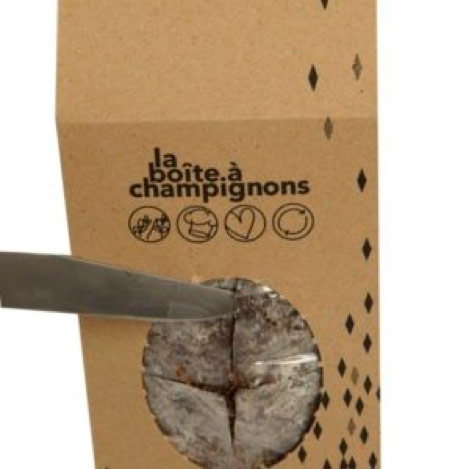
Once you've harvested your first bunch of oyster mushrooms, you can restart your box straight away! Remove the substrate loaf from the box, turn it upside down, and score the other side of the loaf with a small cross, again using a cutter. Place in a bowl filled with water and refrigerate overnight! Don't forget to place a heavy plate on top of the bowl to prevent the substrate bread from rising to the surface. Without this precaution, the bread won't be soaked enough to restart a mushroom culture.

Going away for a few days? Don't panic! Your Mushroom Box will be waiting for you, just leave it outside, out of the sun and wind.

Sometimes, the substrate may be a little green on top. Don't panic! It's a sign that other mushrooms have crept in among the oyster mushrooms. In this case, return your Mushroom Box to us, and we'll make sure you get a replacement.

Want to know more? Discover all the explanatory tutorials here

If you're convinced and ready to give it a try, order your ready-to-grow Mushroom Box directly from our online store at a very reasonable price!

Comments (0)

No comments at this moment
Product added to wishlist
Product added to compare.