What's a keyhole garden?
In French, it means keyhole garden. Sometimes also called a solar garden, it takes its name from its shape.
The keyhole garden is a vegetable-growing technique launched in Africa 20 years ago to provide villagers with a self-sufficient, productive food system requiring very little water.
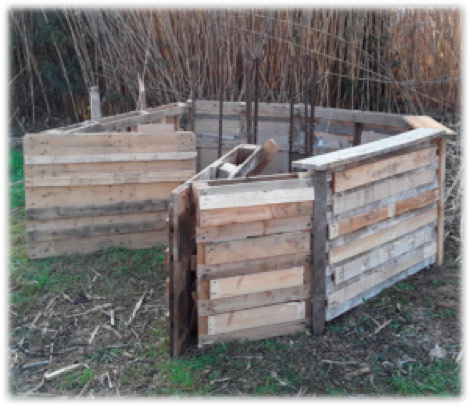
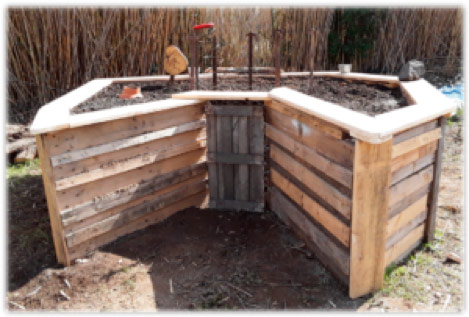
It consists of a circular vegetable garden at ground level, with a composting column at its center, accessible via a small path. This column provides a continuous supply of nutrients, both for the soil in the garden and for the soil on which it is placed.
And yes! The keyhole garden has the advantage of producing plants, fruit or vegetables in small areas, and is not dependent on the nature of the soil on which it is built. Its inputs are autonomous, and generated via the central compost!
That's what we liked about the concept of this ultra-productive mini kitchen garden!
So, how does it work?
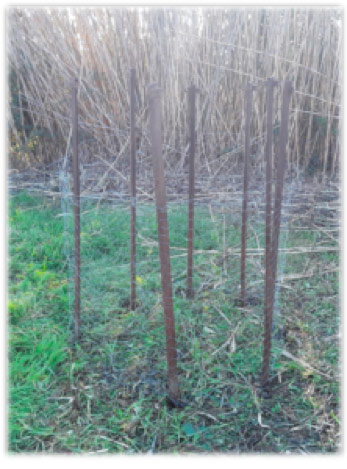
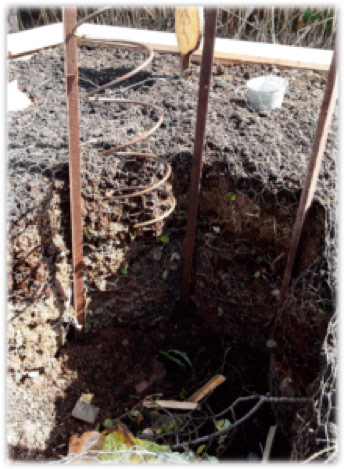
In the center of your garden structure, create a column about 50cm in diameter and 1m30 high. This is where you put your bio-waste (peelings, plate scraps, paper, cardboard, shells, etc.) so that it can be composted. Located in the center of the garden, and therefore of the plantings, the column will slowly diffuse, by percolation, the nutrients and moisture necessary for plant growth. (That's why it doesn't need much water!)
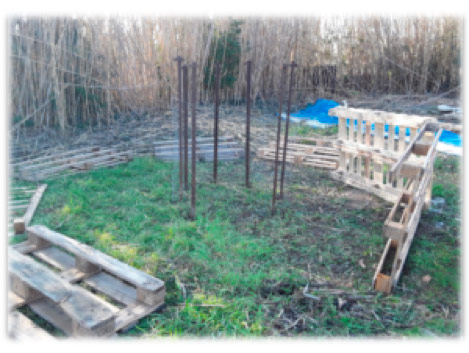
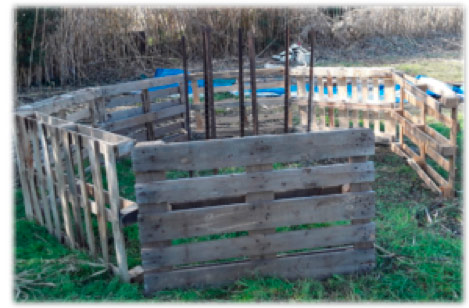
All around the column, you'll need to create a circle of substrate (or lasagne in permaculture) 1.5 m high and around 3 m in diameter, which will house your future plants.
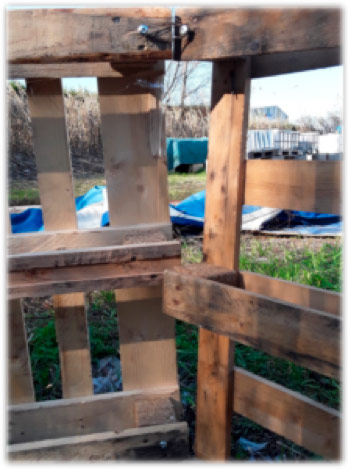
To secure the circle and give your garden its shape, there are a number of ways you can go about it: either a dry stone wall (the most traditional), wooden board strapping, or pallets! That's exactly what we did for ours, and it works pretty well.
Why is a keyhole garden so effective?
Firstly, because it feeds the soil on which it's built: as we wrote earlier, the compost contained in the central column feeds the substrate surrounding the column, as well as the soil on which your garden is laid! And that's magic!
Secondly, because it respects the living cycle: the substrate deposited in your Keyhole garden is what's known as a "permaculture lasagne", i.e. a pile of layers of different organic matter (wood, leaves, branches, etc.) similar to forest humus. It helps the soil to breathe and the whole ecosystem to live. Like our little friends the worms, for example! Their incessant to-ing and fro-ing ensures the quality of the soil, which improves over time.
And finally, because it's maintenance-free: yes! Apart from adding bio-waste to your column to generate compost, the rest of your garden evolves on its own! The water requirement is also very low, because remember, the presence of compost in the center of the keyhole garden is enough to maintain the humidity needed by the plants.
Comments (0)